

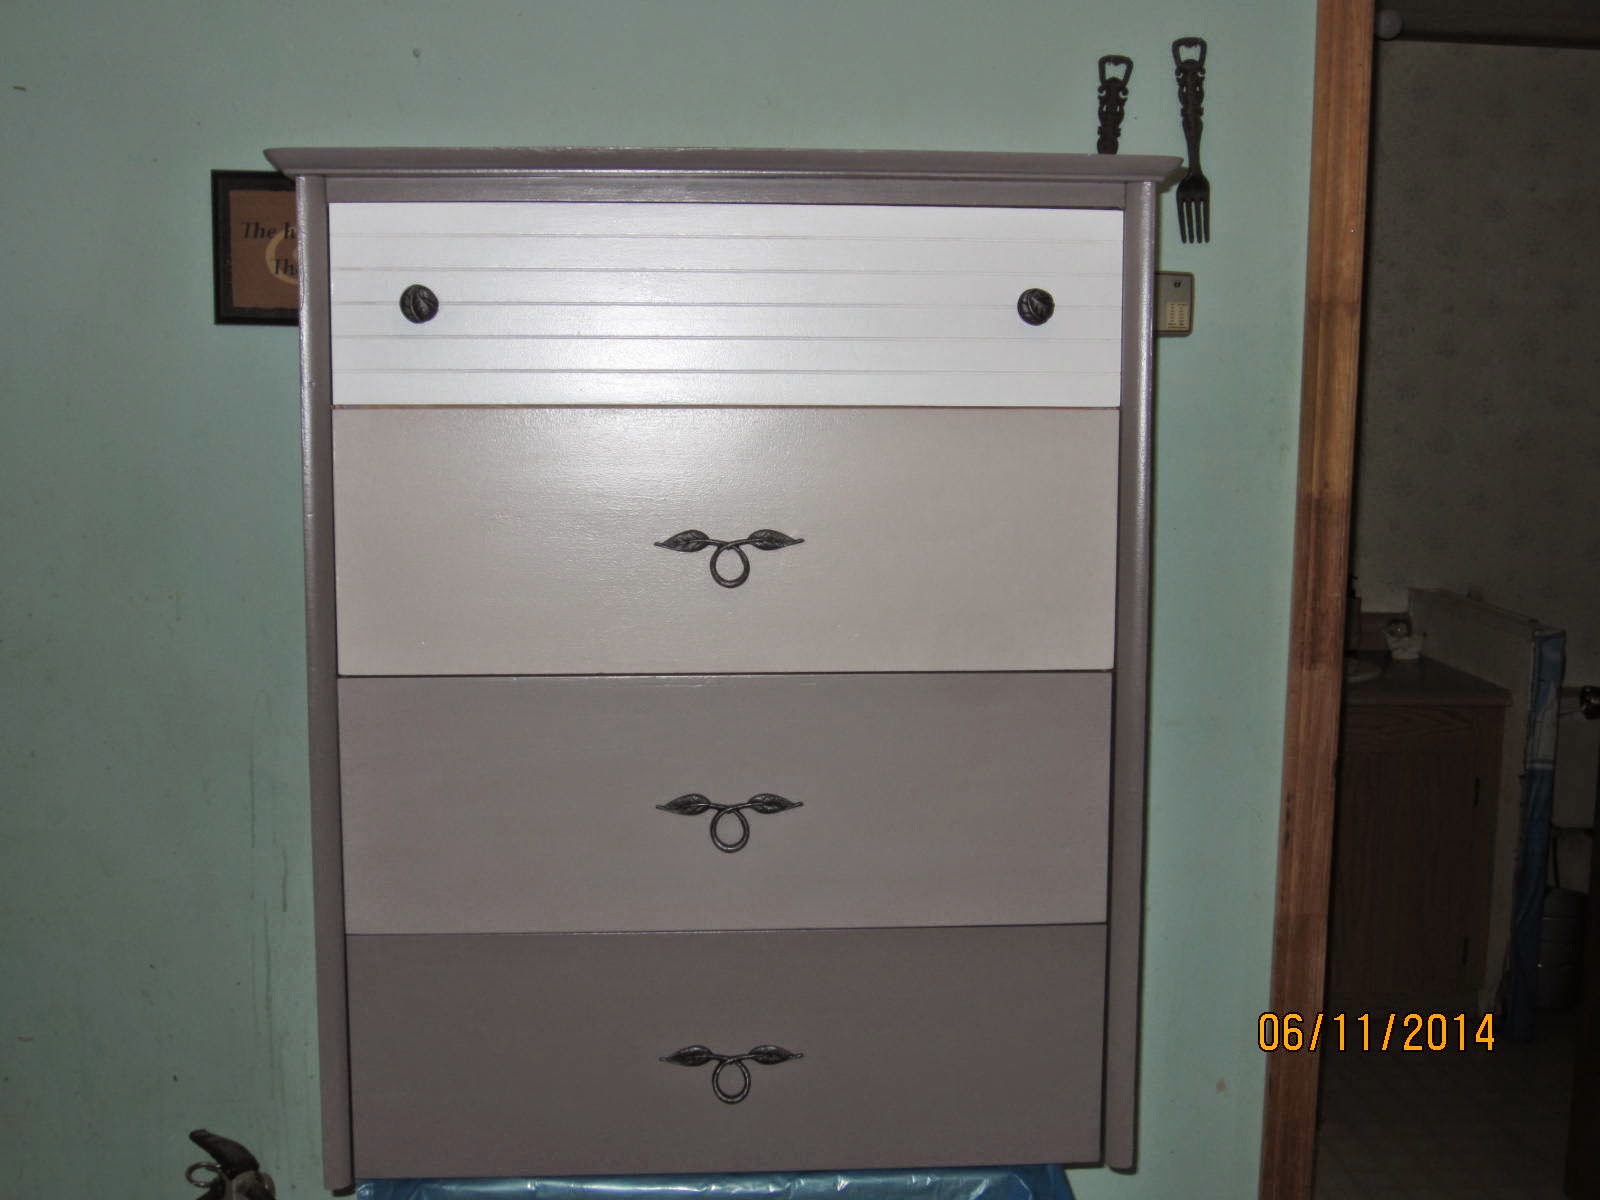
So this is how my very first piece of painted furniture turned out. Pretty amazing what some paint, new hardware and some time can accomplish, especially when you consider that it originally looked like this............(points to the below pics:)
 | |||||||||||||||||||||
| Before |
 |
| Before |
So my inspiration for this dresser was a picture I saw in a decorating magazine (I think it was House and Home, but not sure, I did find the pic though when I googled ombre dresser House and Home).
I just loved the look of the different colored drawers and I kept the idea in my head for several months until I actually tried it.
 |
| The inspiration dresser |
Having never painted furniture before and the piece I wanted to do also having a laminate coating I started doing some research to find out the best method and products to use. I watched various videos on youtube then I discovered Pinterest. Ok I knew about Pinterest but had never really paid much attention to it until recently. It was on there that I found the link to an amazing blog with so much information about her experiences painting furniture. Her pieces looked so amazing that
I followed her advice on how to get a quality finish on a piece of
painted furniture. This is what I did, this is how I did it.
In the beginning....
(or getting your sh#t together)
These are the products I used:
- Zinsser Primer
- CIL paint sample size 450ml (4 cans)
- Minwax Polycrylic
- Lepage wood filler (natural)
- Sandpaper various grits (100 and 220)
- angled paintbrush 1 1/2"
- small foam roller
- putty knife 1 1/2 "


Step 1........
So the first thing you want to do is take the drawers out of the dresser. Using the wood putty fill any holes caused by damage or if you're changing the size/placement of the knobs/handles. The handles that were on my dresser were larger then the new ones I used so I filled the holes from them on the bottom 3 drawers and a damage spot on the side of the main dresser. (If you look at the before picture of the top of the dresser and see the peeling of the laminate, I did not use putty on it, I simply sanded it lightly to help even out the surface.)
When your wood putty is dry lightly sand all of the dresser and drawers
with 100 grit sandpaper, this will rough up the surface a bit for the
primer and smooth out your putty.
 | |||||
| and it will look something like this |
Step 2......
Next you want to prime the entire piece using your paint brush to get around any edges and corners but mainly using your foam roller to give a nice smooth finish. When the first coat of primer was dry I very lightly scuffed it up using 220 grit sandpaper, let that dry and again lightly scuffed up the 2nd coat of primer as well.

 |

Step 3.....
Now on to the fun part, adding the color :) The same way you applied the primer, use the brush for getting into crevices and the foam roller for most of it. I applied 3 coats of paint, lightly scuffing between each coat with the 220 grit sandpaper.
(Two coats probably would have been fine, but I figured what the hell. Even though I was only using the small sample size of paint considering 3 of the cans were only being used to paint one dresser drawer each, I had paint to spare.)

Step 4......
I let my final coat of paint sit overnight then added a coat of polycrylic using my angled brush. Apply it in small sections then lightly brush down the length of your surface to even out brush strokes, don't go over it too much though or it will streak. Since I was using 2 coats of polycrylic I let it dry for 2 hours or so, then very lightly scuffed it with the 220 grit sandpaper and applied my final coat. I let that sit for about a day before adding my new knobs and handles.
Ok I added the knobs cause I was using the original holes for them and my boyfriend drilled the holes for the new handles. Yes I'm sure I could have done it but he did just recently buy that new drill.... :)
and Viola
a much improved dresser
(in my humble opinion anyway:)
I hope that will inspire you to tackle that ugly piece of furniture in your home just begging to be gussied up and if it does let me know how it goes.
Till next time and Project Two (already half way there)
No comments:
Post a Comment